 yxx-blog
使用 js 实现预览上传的图片
添加控件
首先,要有一个文件上传控件:
html
<input type="file" accept="image/*" /><input type="file" accept="image/*" />type="file" 设置 input 为文件上传控件 accept="image/*" 限制文件类型为图片
绑定事件
接下来,给 input 绑定监听事件
javascript
let input = document.getElementsByTagName('input')[0]
input.addEventListener('change', function () {
  console.log('ok')
})
let input = document.getElementsByTagName('input')[0]
input.addEventListener('change', function () {
console.log('ok')
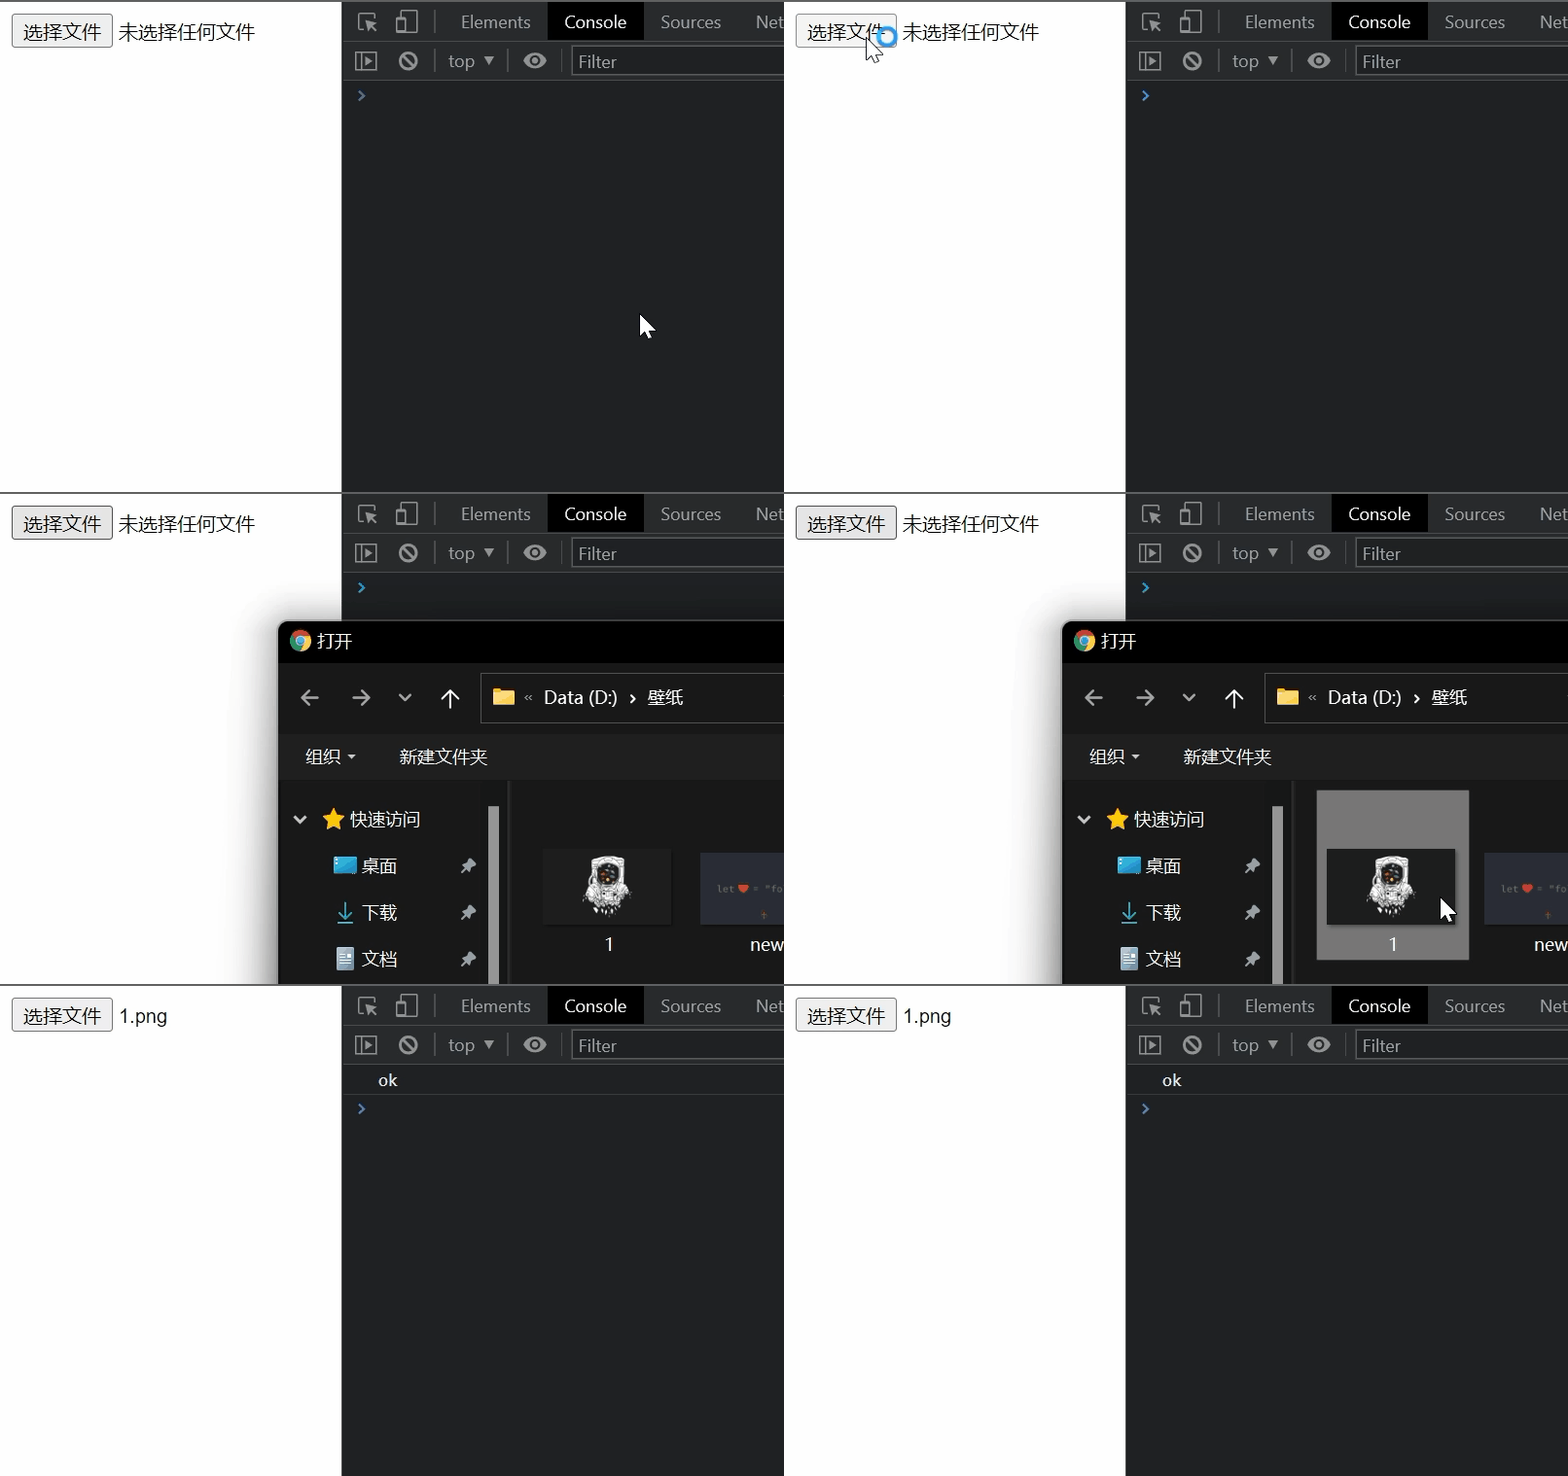
})当上传图片的时候就会触发监听事件,控制台打印 ok。
处理 files
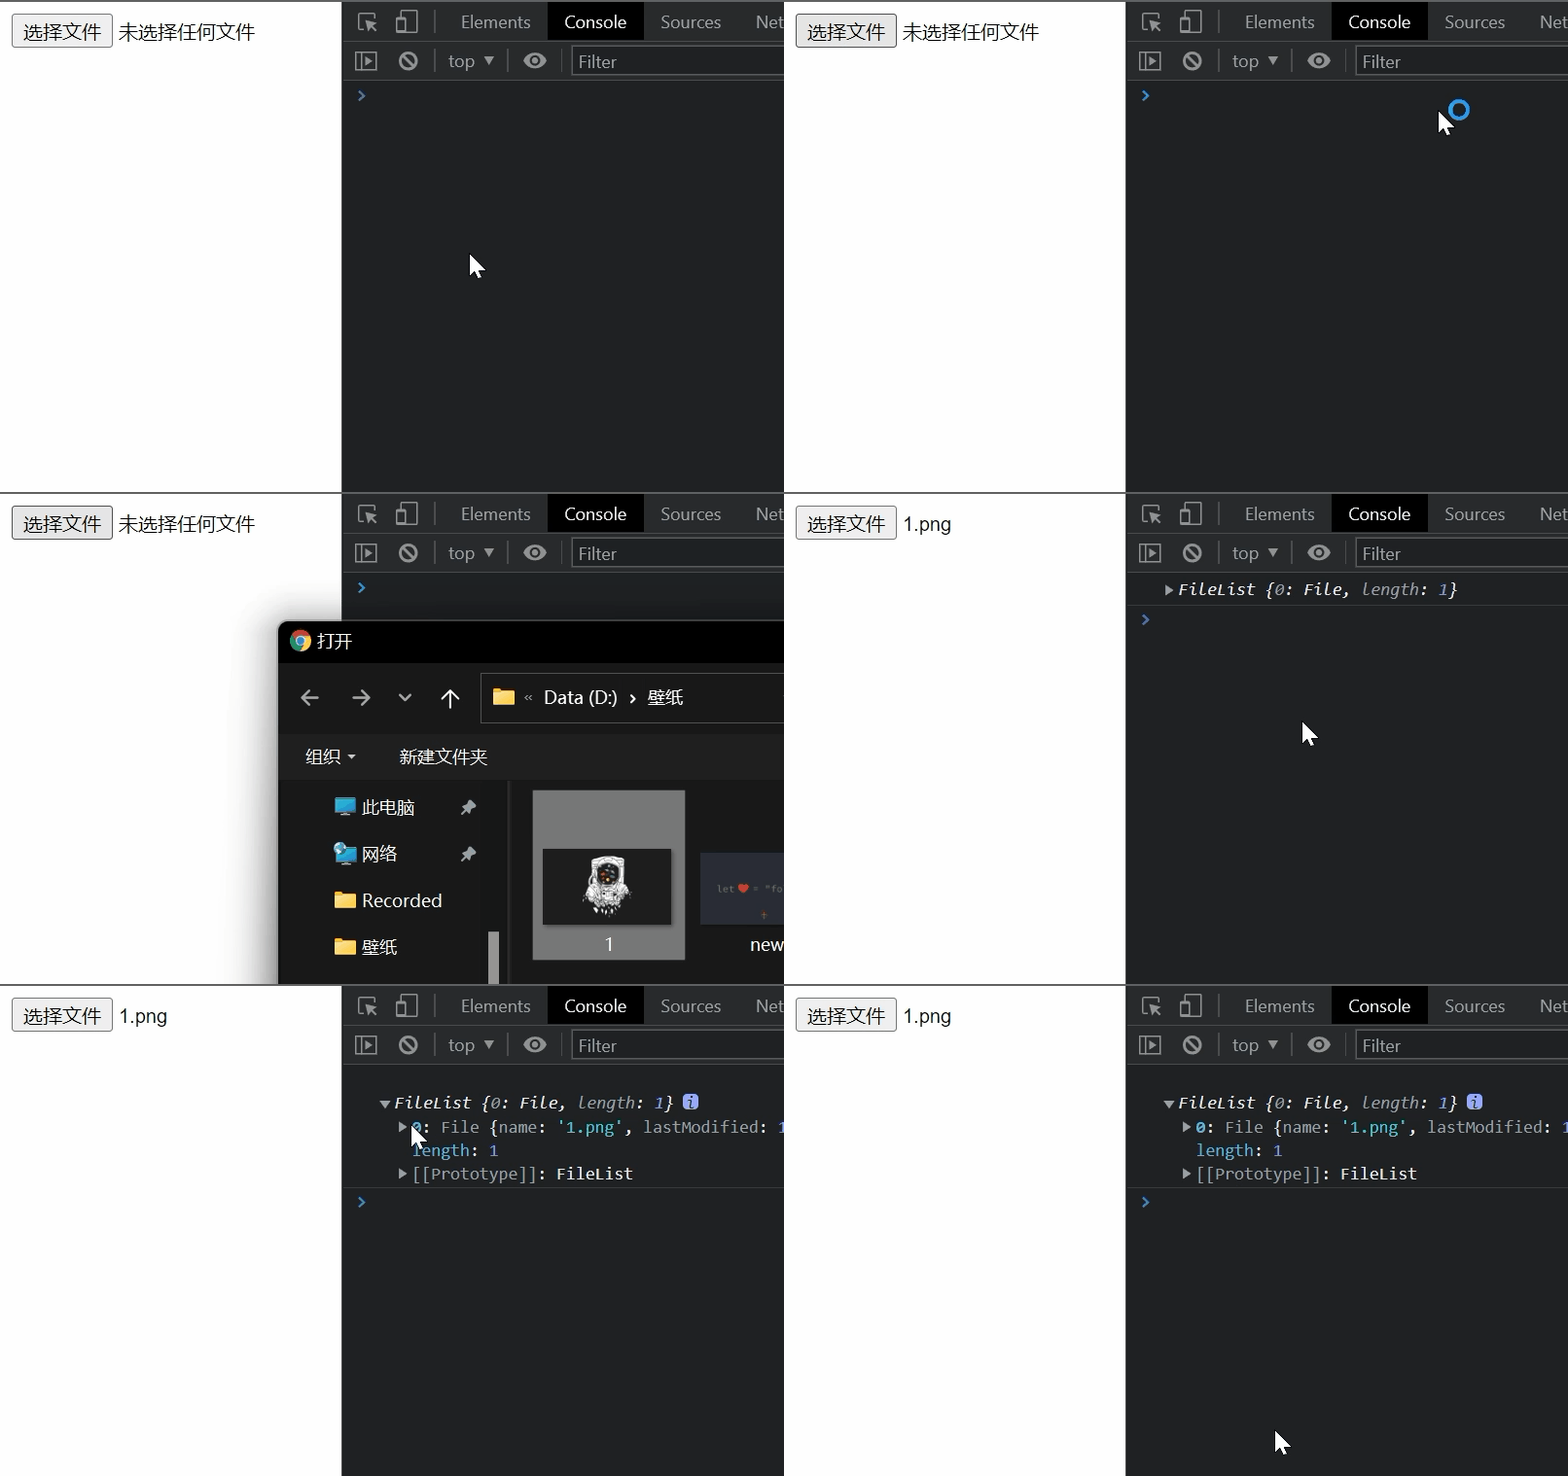
然后我们可以通过 input 元素的files属性拿到一个 对象,这个对象是一个类似数组的对象,代表一组选中的文件,每个成员都是一个 File 实例。 修改 input 的监听函数:
javascript
input.addEventListener('change', function () {
  const { files } = this
  console.log(files)
})input.addEventListener('change', function () {
const { files } = this
console.log(files)
})效果:
生成 url
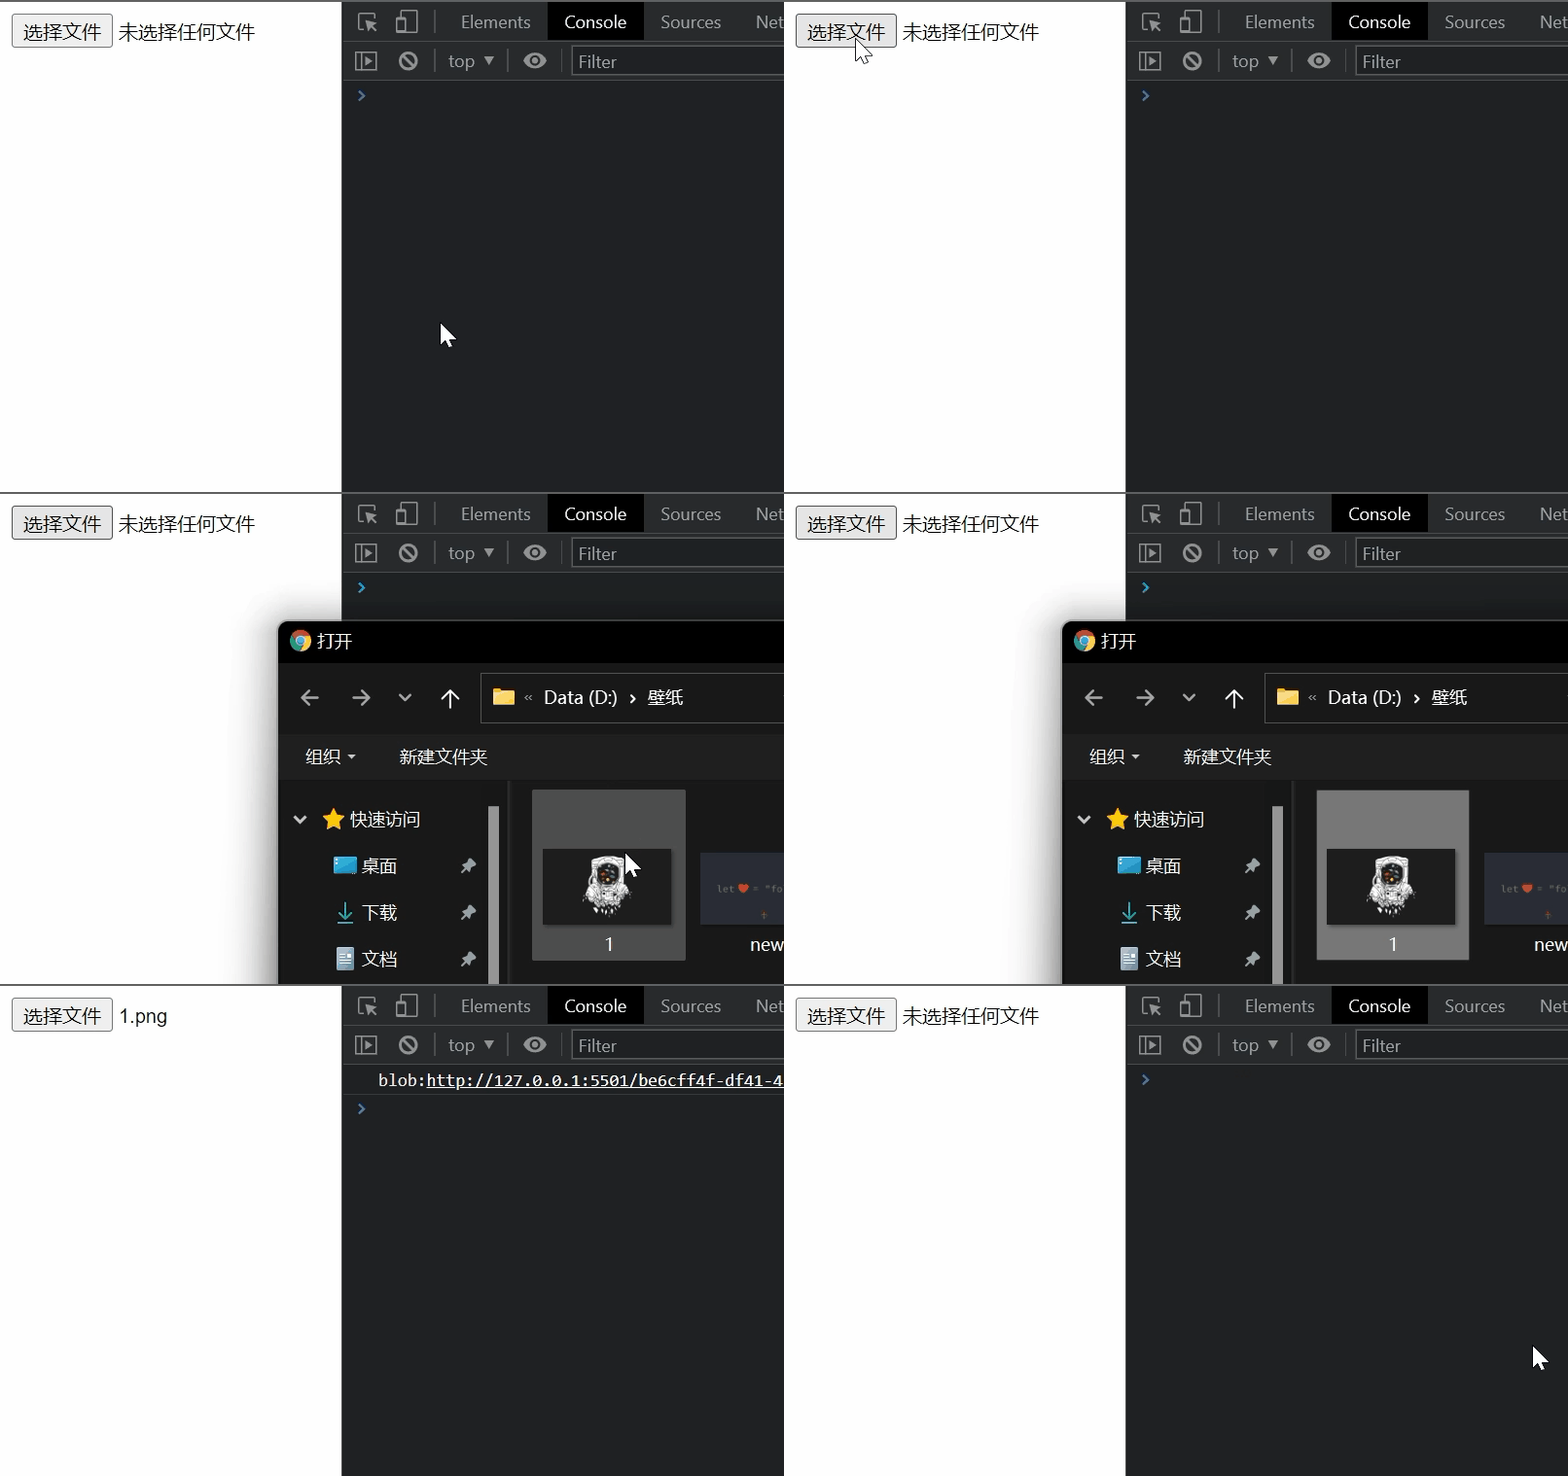
然后我们取出files的第一个对象,通过URL.createObjectURL()方法用来为上传/下载的文件、流媒体文件生成一个 URL 字符串。这个字符串代表了File对象或Blob对象的 URL
javascript
input.addEventListener('change', function () {
  const { files } = this
  const f = files[0]
  console.log(URL.createObjectURL(f))
})input.addEventListener('change', function () {
const { files } = this
const f = files[0]
console.log(URL.createObjectURL(f))
})
生成图片
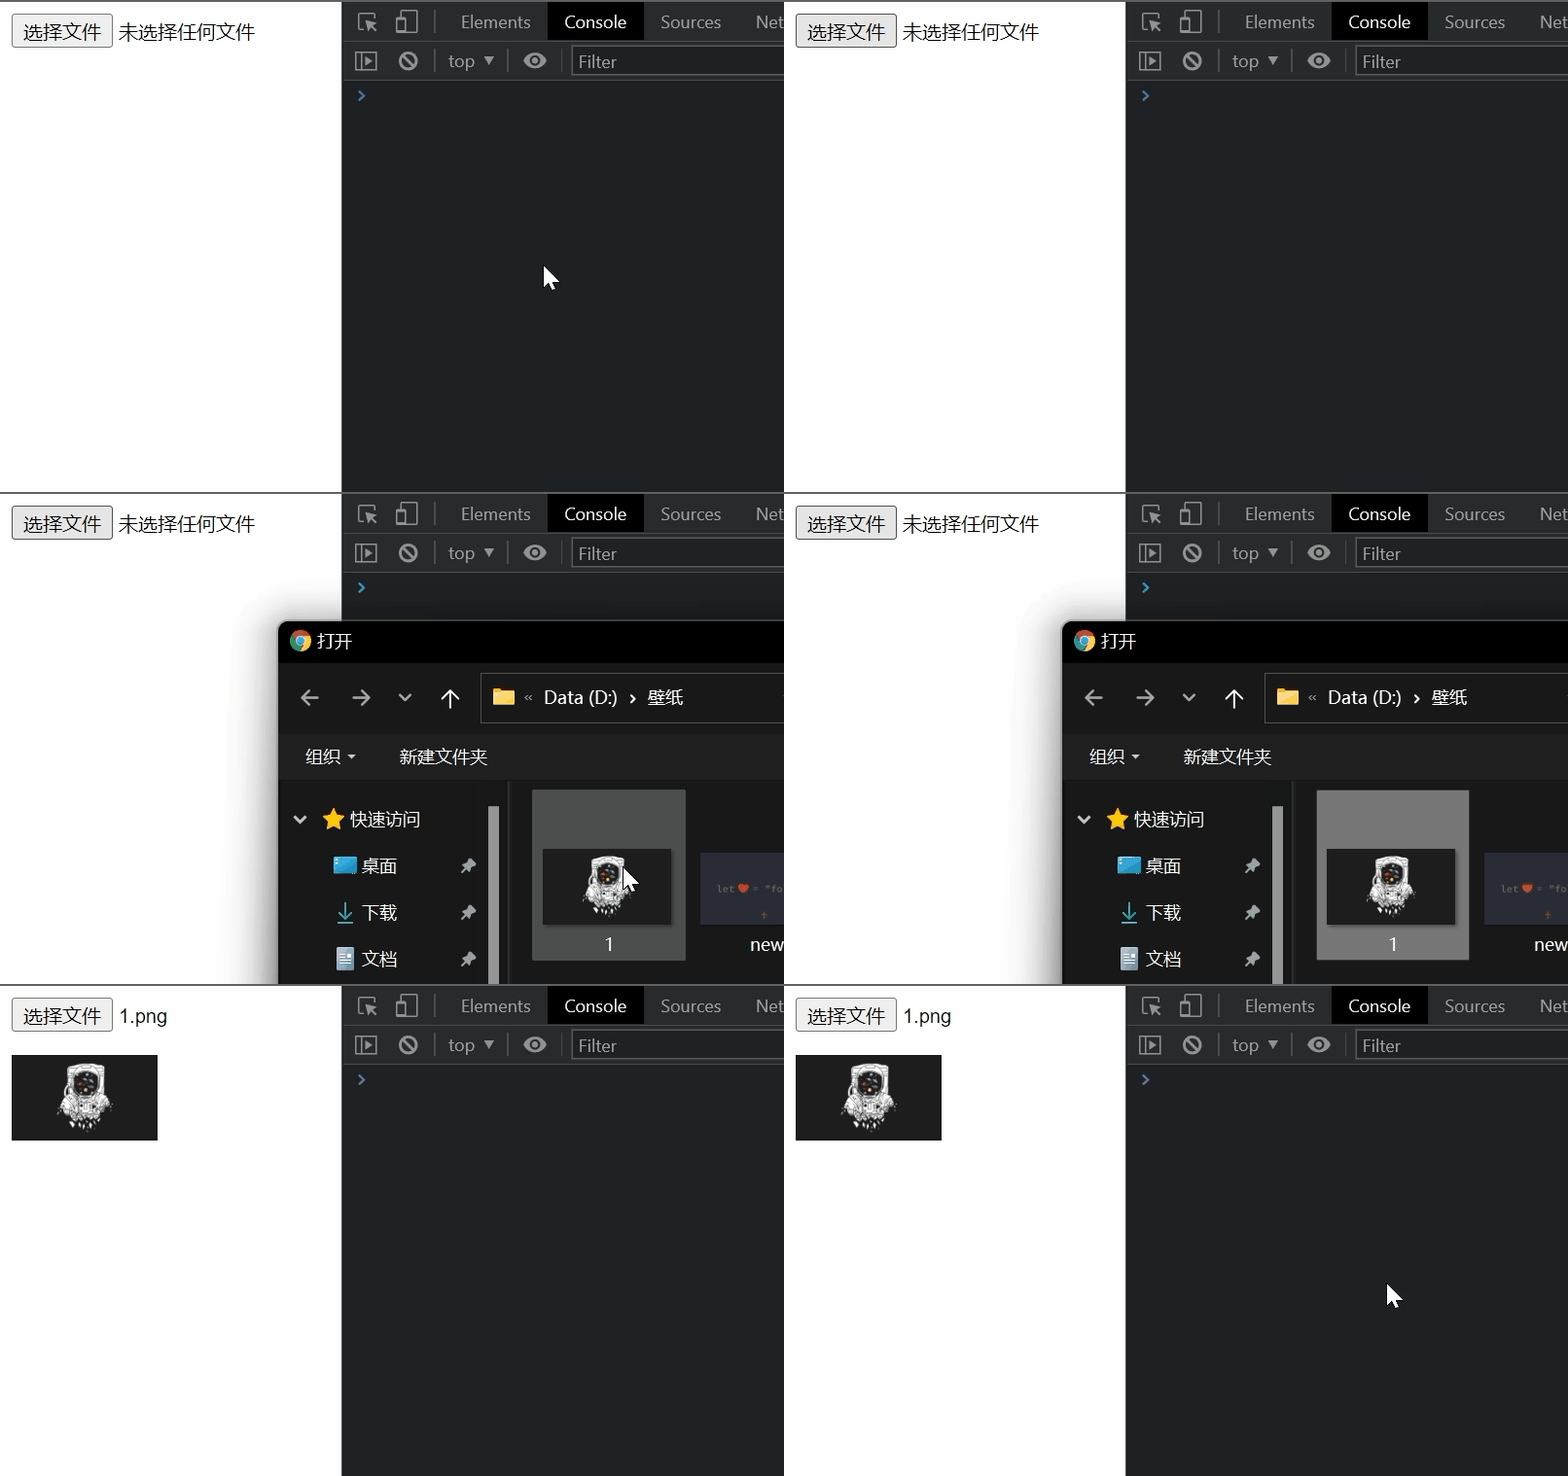
接下来我们创建一个 img 标签,并且将它的 src 设置为这个 URL 路径,然后再将 img 添加到页面
javascript
input.addEventListener('change', function () {
  const { files } = this
  const f = files[0]
  const img = document.createElement('img')
  img.src = URL.createObjectURL(f)
  img.style.width = '100px'
  document.body.append(img)
})input.addEventListener('change', function () {
const { files } = this
const f = files[0]
const img = document.createElement('img')
img.src = URL.createObjectURL(f)
img.style.width = '100px'
document.body.append(img)
})